Shop online!


STAMPED CONCRETE
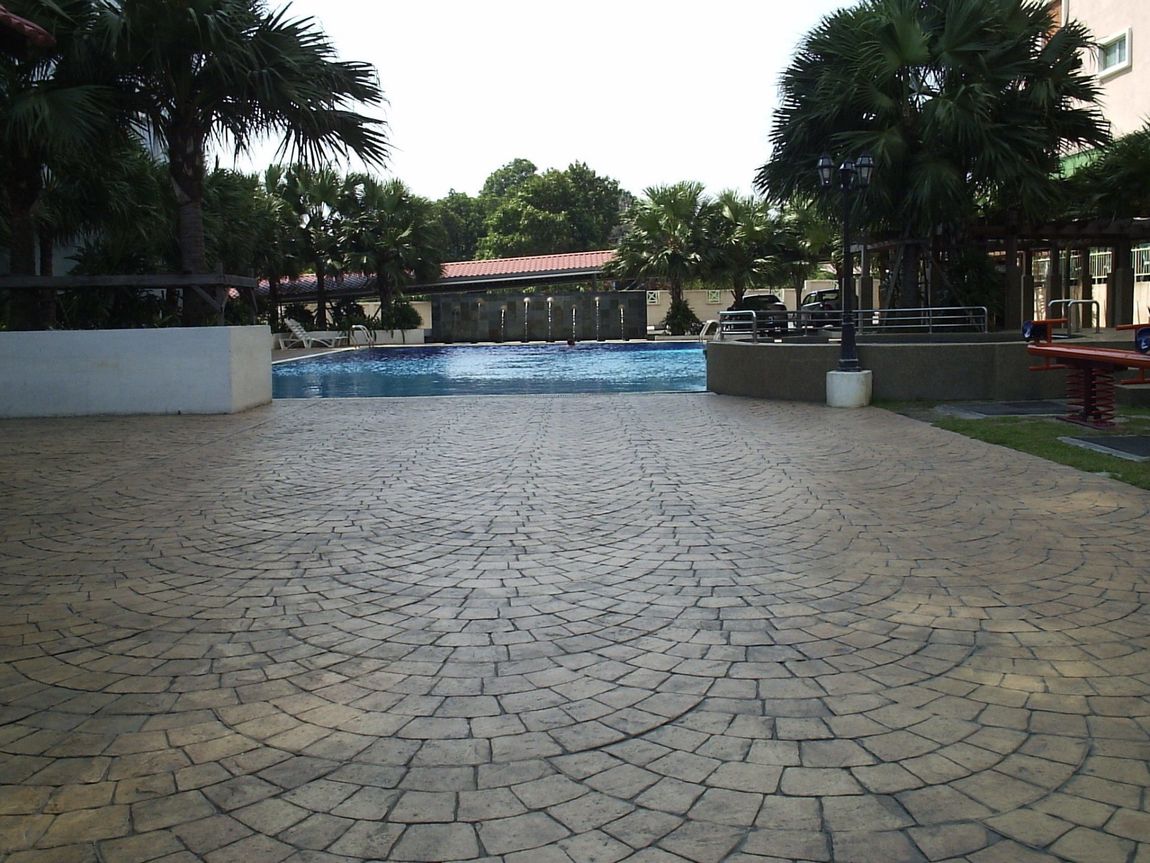
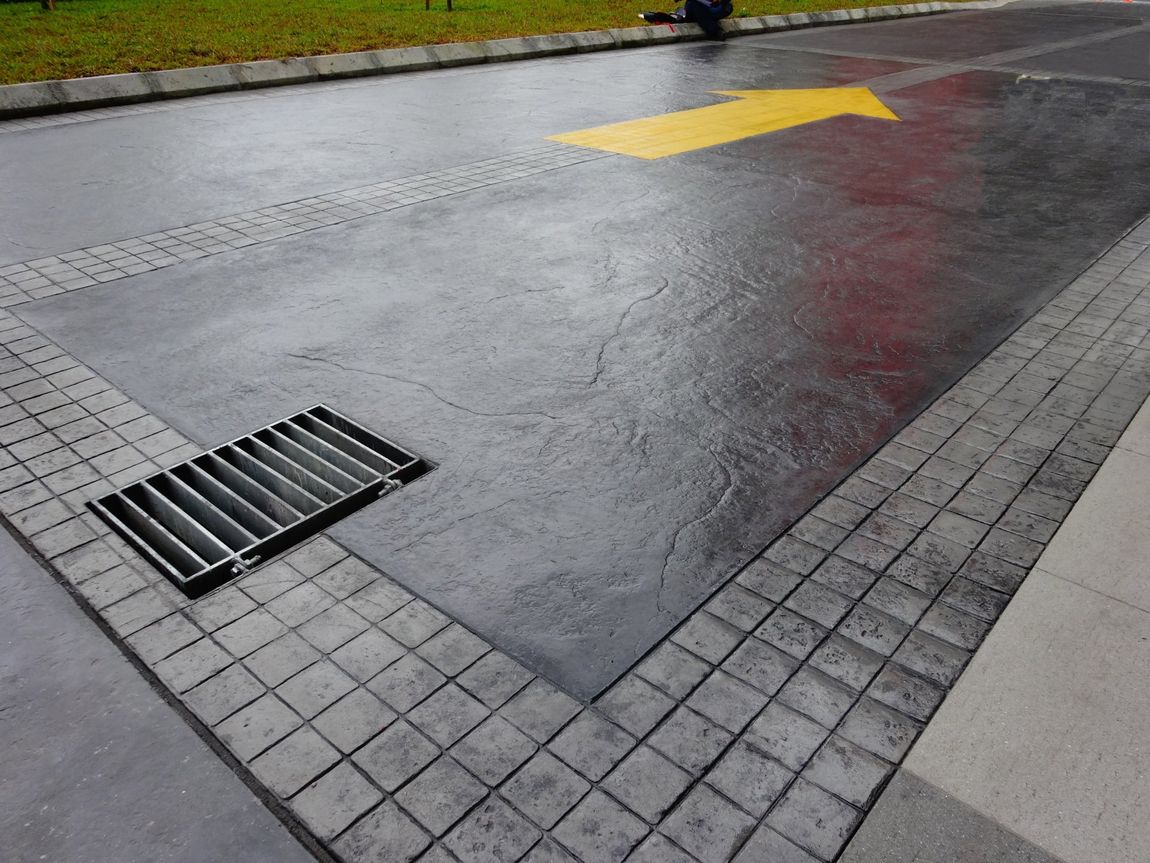
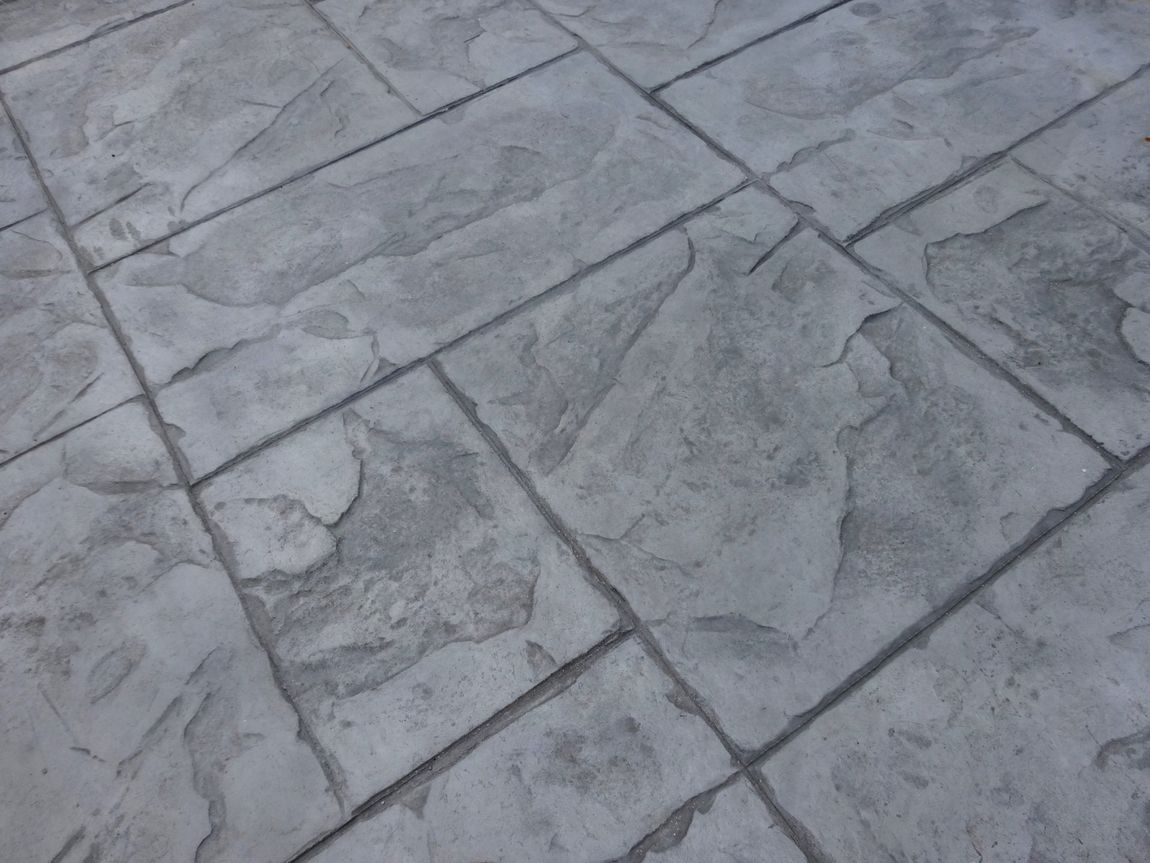
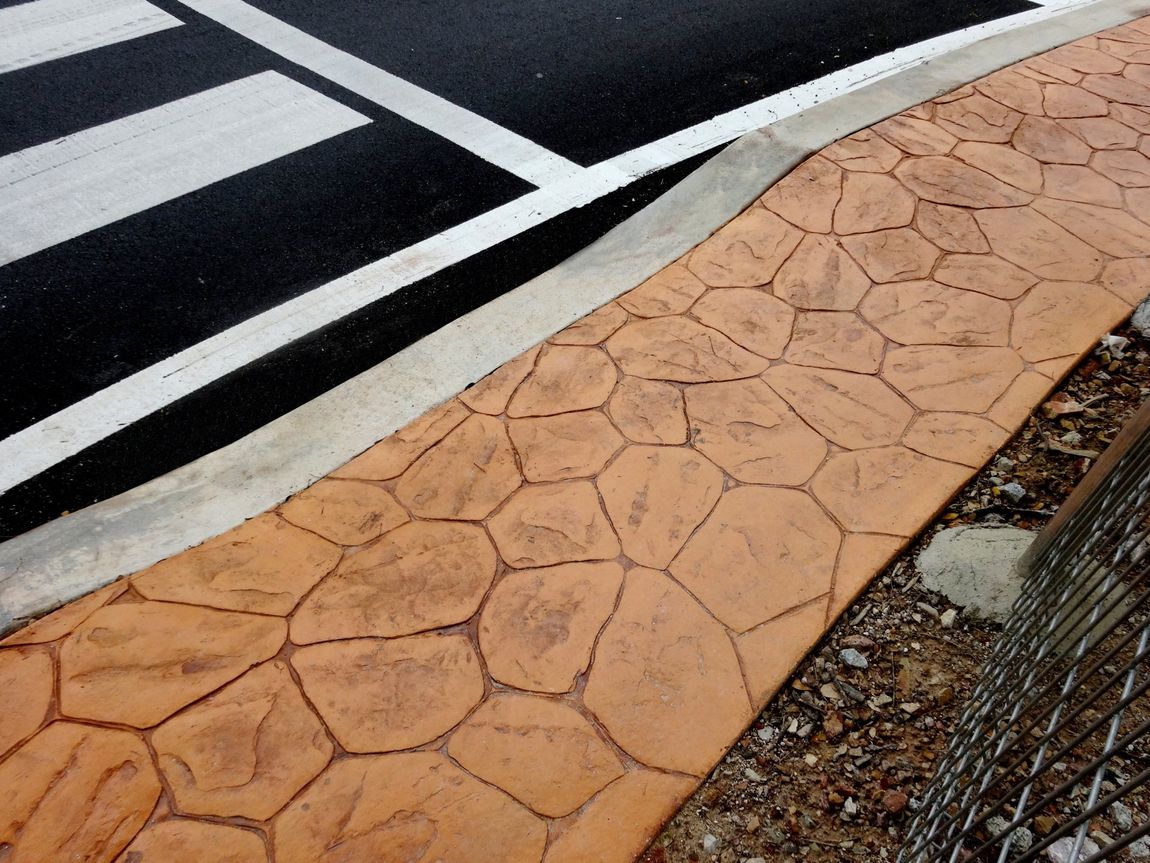
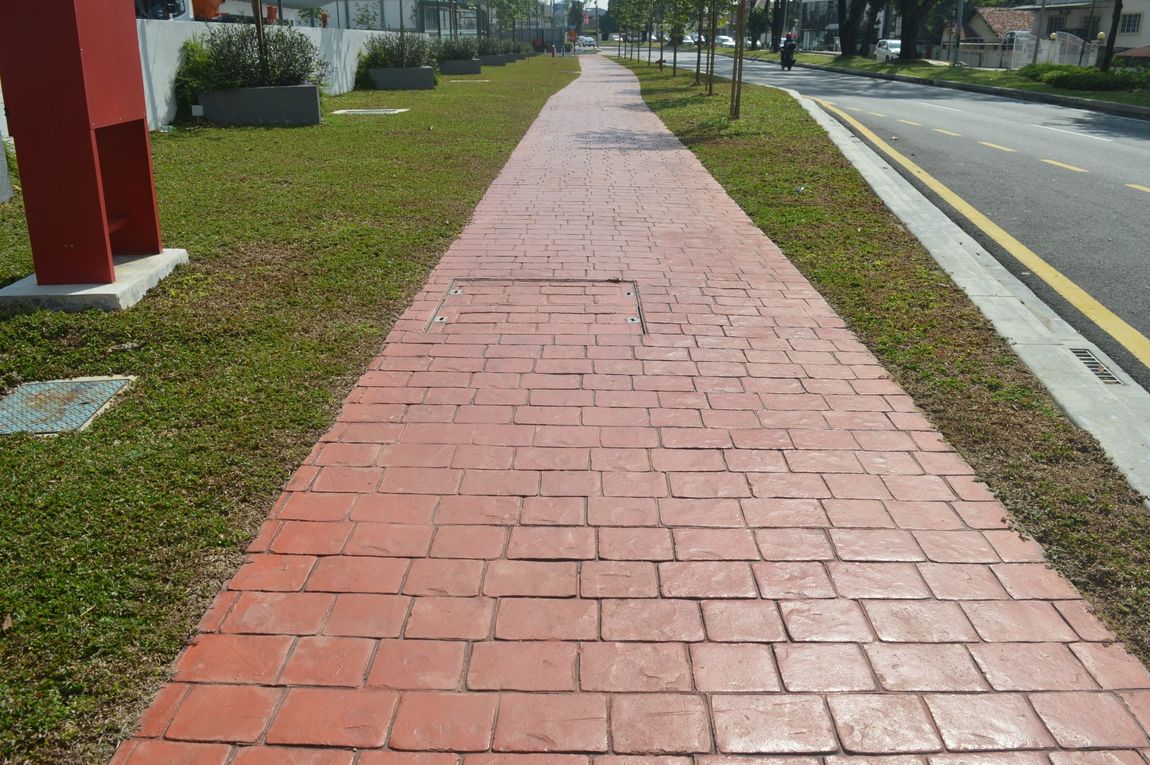
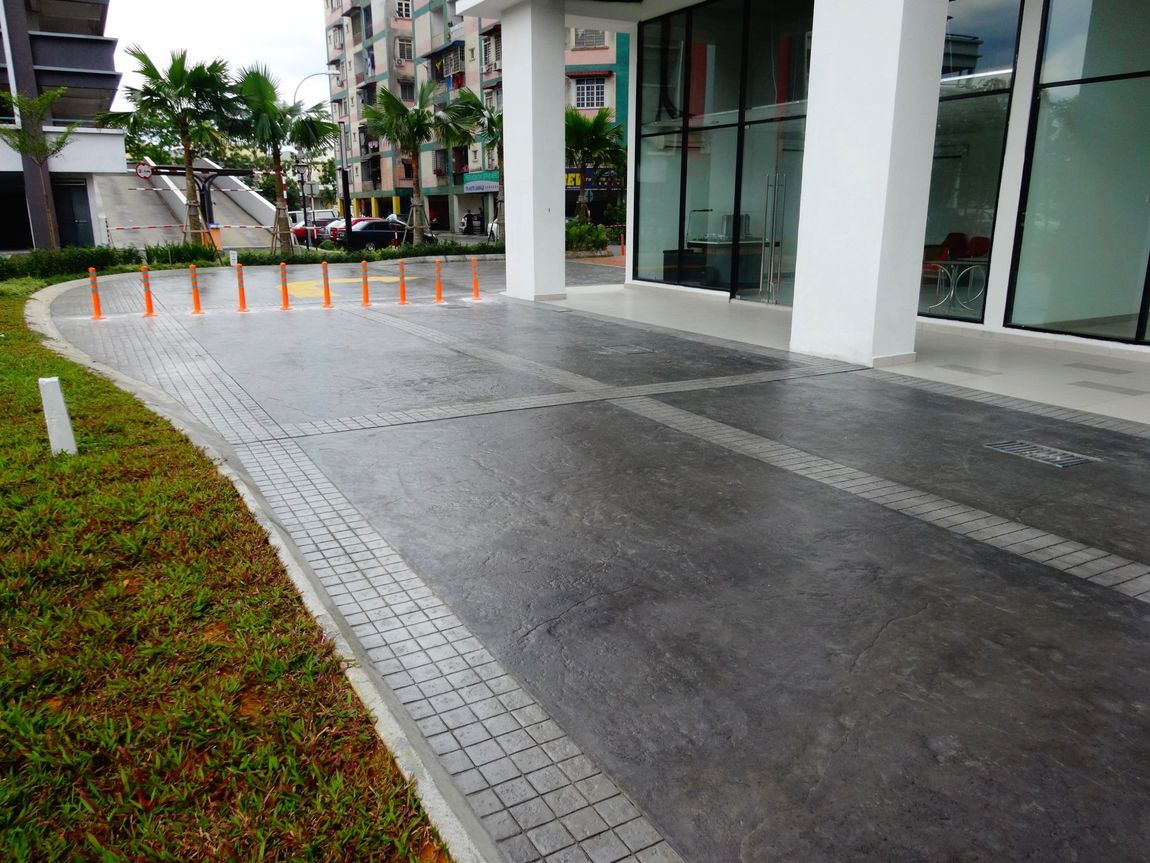
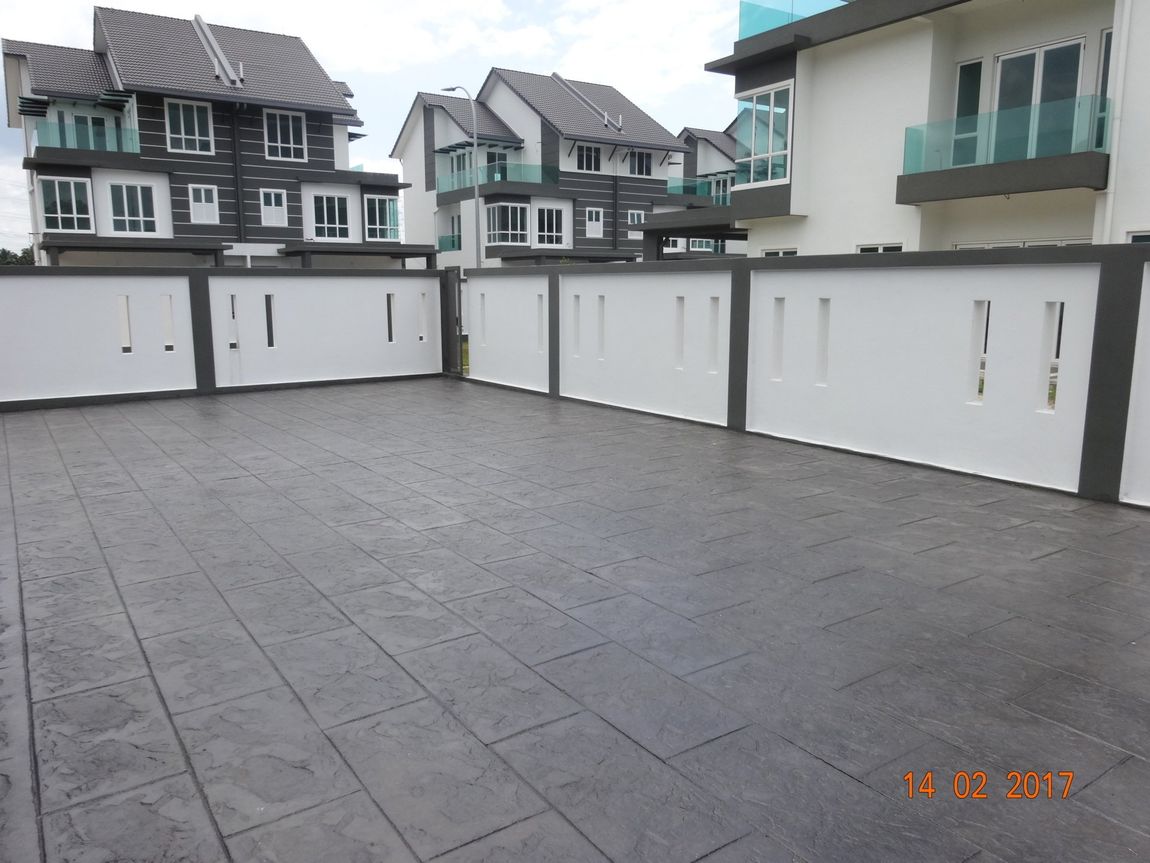
Benefits
System Information
| Packaging: | 25 kg per bag (M300) |
|---|---|
| 10 kg per pail (R696) | |
| 10 litre & 20 litre per pail (CI15) | |
| 1 litre, 5 litre & 20 litre per pail (Acrylic Sealer) | |
| Consumption: | 3.5 - 4 kg per sq mtr (M300) |
| 0.15 - 0.2 kg per sq mtr (R696) | |
| 4 sq mtr per litre (Acrylic Sealer) |
Instruction for Use
SURFACE PREPARATION
Prepare and lay the fresh concrete as per requirements. Note that the concrete must be a minimum of G25 or compressive strength of 25 N/mm².
After the concrete has been screeded, consolidated and further level by bull float. Ensure that any free water present has evaporated or removed in order to proceed to application.
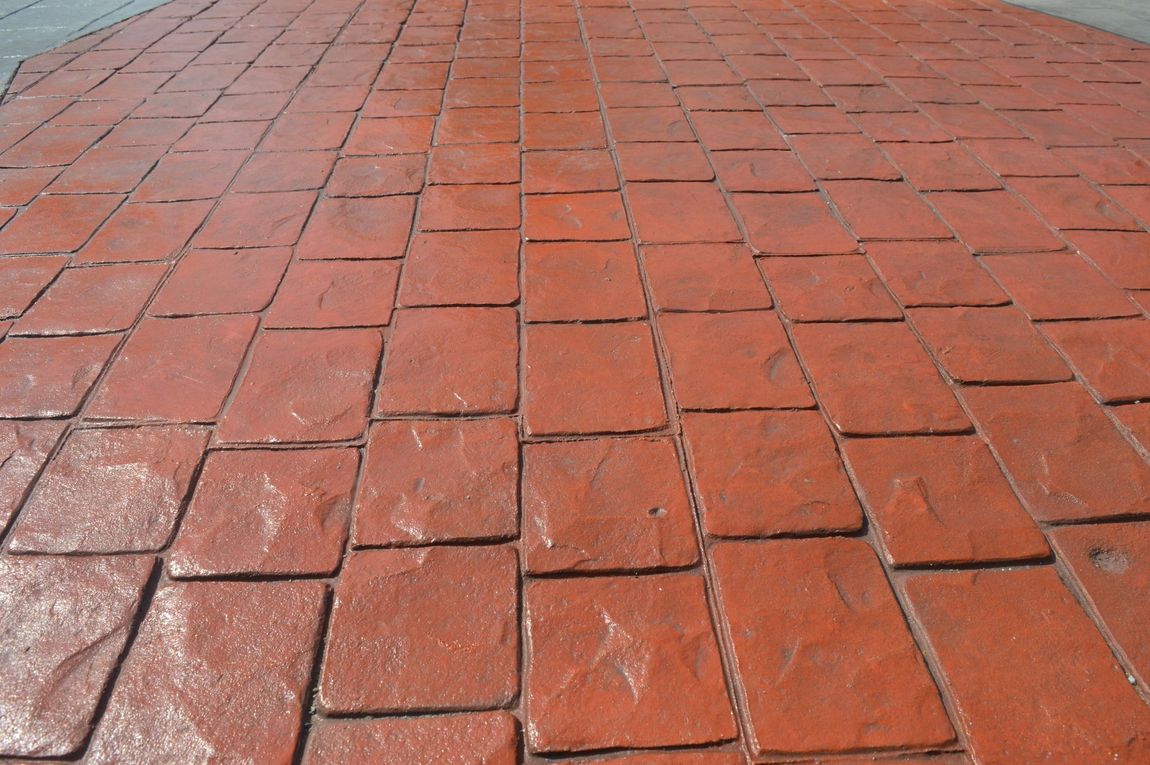
APPLICATION - M300
Dry shake the Colour Hardener evenly over the surface. The first application of the color hardener should use about 2/3 of the total amount needed. The dry shake materials will absorb some moisture from the freshly prepared concrete and should then be thoroughly floated into the surface, preferably by a bull float. Immediately after this the remainder of the specified amount of the Color Hardener should be distributed evenly over the surface at right angles to be previous application. This should be thoroughly floated and make sure that an uniform colors is obtained. Final trowelling is best done by hand.
APPLICATION - R696
After 30 minutes (Periodical checking of the condition and development of the concrete will determine the correct time frame for each stage and sequence of application), spread the R696 evenly onto the smooth trowelled surface. Spread and brush some amount of R696 onto the mould surface as well. Arrange the mould position and put it onto the smooth trowelled surface. Use the tamper to apply force evenly onto the surface. Repeat this steps for each mould to apply onto the surface.
WASHING - CI15
After 3 - 7 days of curing, use MASTERPAV CI15 to wash away all the excessive R696. This is to expose the 2 tones effect of the floor. This is also important to prevent any dust to stick on the stamped surface, which it will affect the bonding of sealer and the floor.
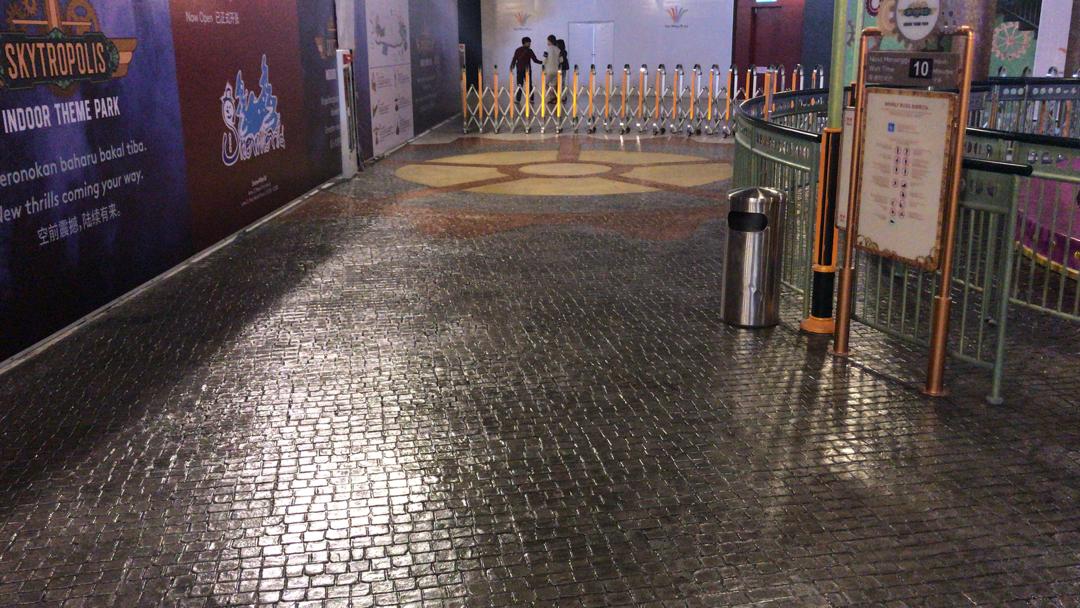
SEALING
After the floor is dried, apply MASTERPAV Acrylic Sealer for a high gloss, gloss, semi-gloss or matte finishing. Application of MASTERPAV Primer Sealer AS20 is highly recommended before the application of 2nd coat Acrylic Sealer.

603-8961 3798
6017 - 630 2377
6012 - 9393 143
MASTER MATERIALS MANUFACTURING SDN BHD (203747-T)
Lot 1826, Jalan KPB 1, Kws. Perindustrian Kg. Baru Balakong,
43300 Seri Kembangan, Selangor Darul Ehsan,
Malaysia
enquiry@mastermaterials.com
Designed by Trinity42